Adresse
304 Nord Kardinal
St. Dorchester Center, MA 02124
Arbeitszeiten
Montag bis Freitag: 7AM - 7PM
Am Wochenende: 10AM - 5PM
Adresse
304 Nord Kardinal
St. Dorchester Center, MA 02124
Arbeitszeiten
Montag bis Freitag: 7AM - 7PM
Am Wochenende: 10AM - 5PM
Are you dealing with rough, unfinished panel edges on your projects? I know that sloppy details can make even the best work look unprofessional, undermining your quality standards.
In my 20 years in manufacturing, the secret to a flawless finish is using the right component for the job. An aluminum f channel extrusion provides a clean, protective frame and a secure mounting point all in one piece. It’s an essential part for professional-grade results.
But to leverage its full potential, you need to understand precisely what it’s for, how to install it, and how it differs from similar profiles. Let’s break down these details so you can source and use an aluminum f channel extrusion with confidence.
I’ve seen projects compromised by exposed panel edges that get damaged or just look cheap. You need a clean, simple way to finish these terminations, but what’s the right part?
Based on the thousands of meters my factory produces, an aluminum f channel extrusion is primarily used to trim and finish the edges of panels. I see it most often in construction and signage, where it acts as a receiving channel for materials like soffits, glass, or acrylic sheets.
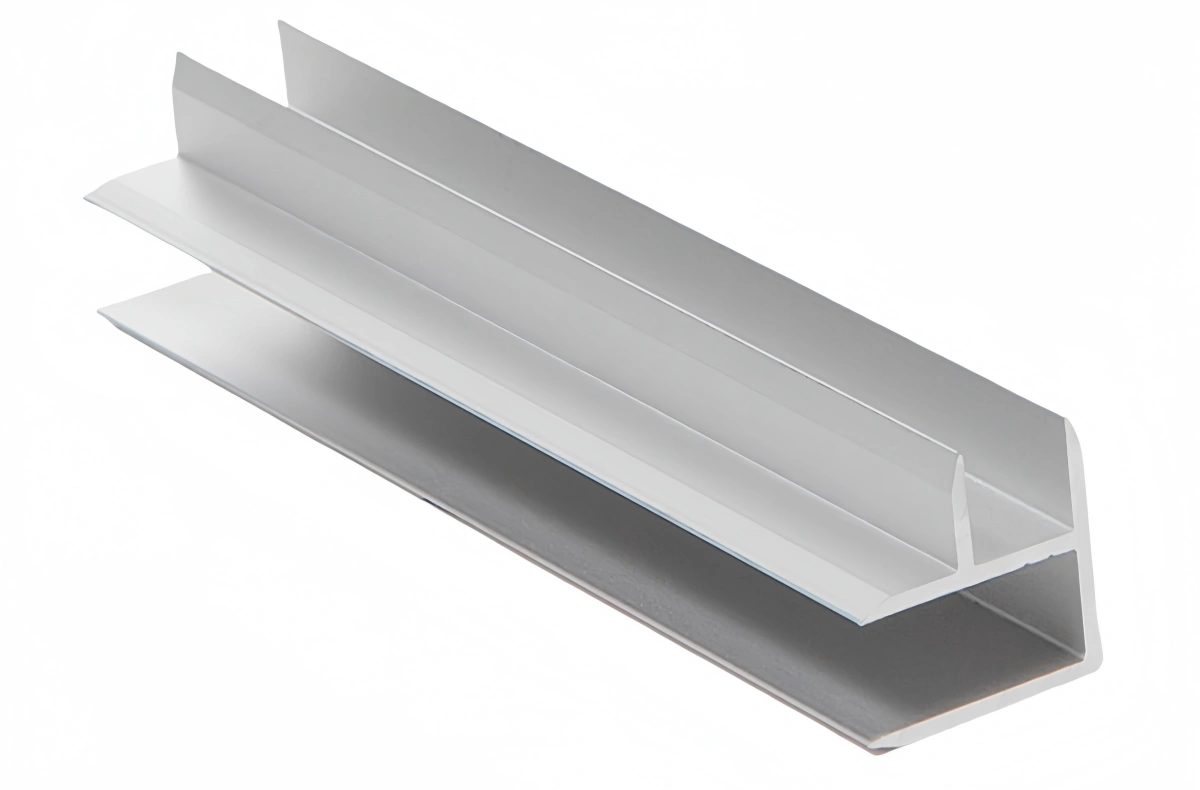
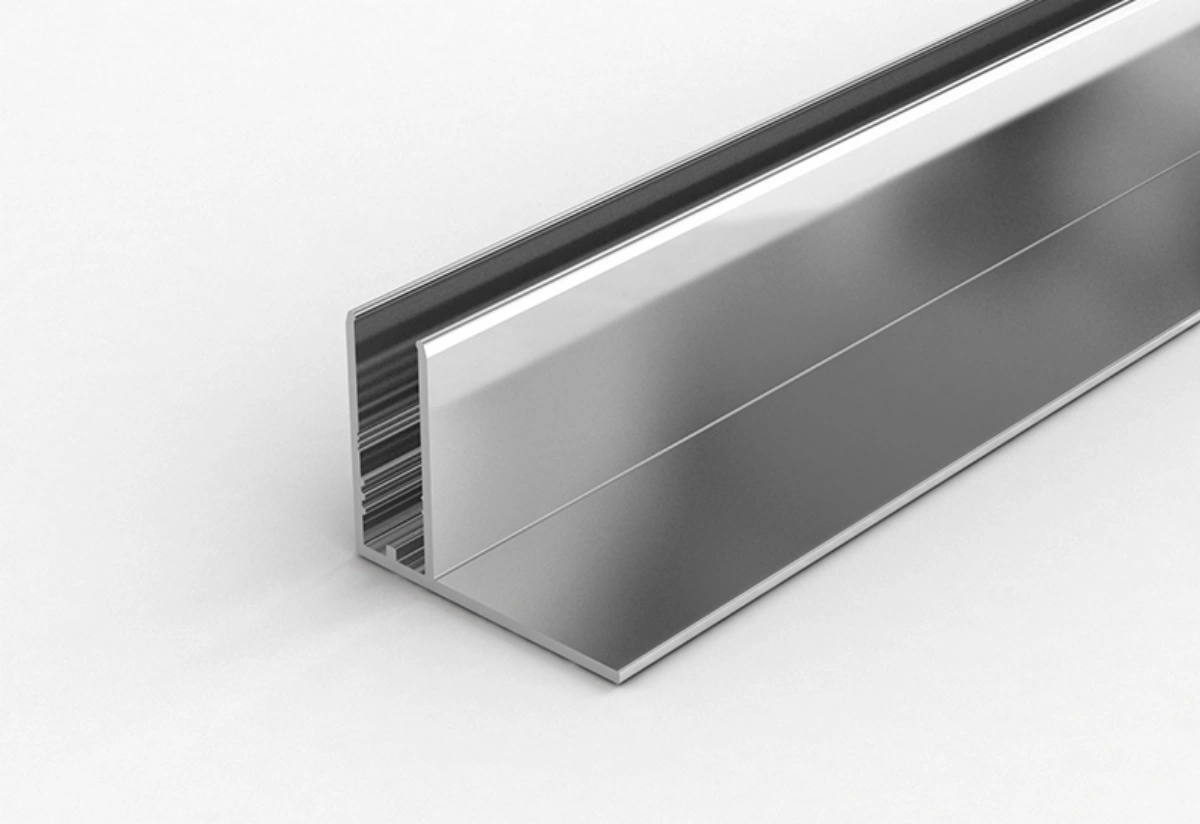
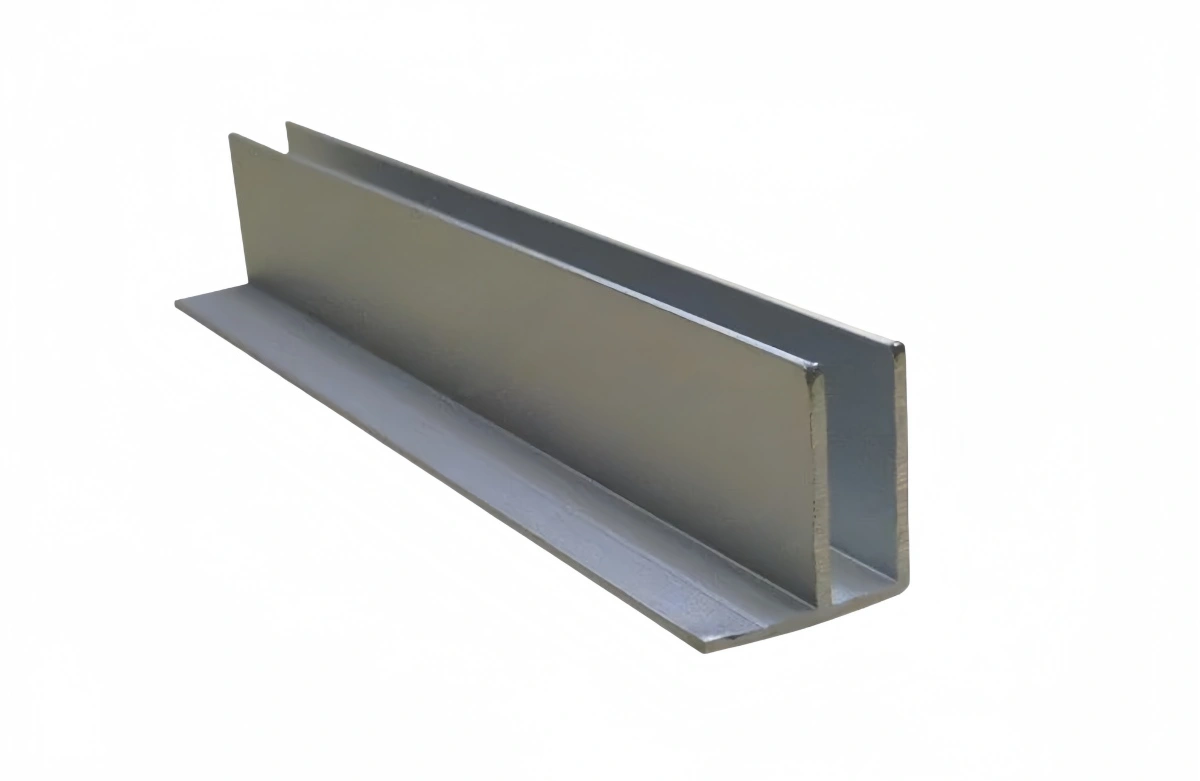
The name “F channel” comes from its distinct cross-sectional shape, which looks like the letter F. This design is intentional and highly functional. This shape makes the aluminum f channel extrusion uniquely suited for applications where you need to terminate a panel against a flat surface. For purchasing managers, knowing its specific uses helps in specifying the correct part and avoiding project delays.
In construction, the aluminum f channel extrusion is a standard component for installing soffits and suspended ceilings. The long back leg is fastened directly to a wall or fascia board. The soffit panel then slides into the channel created by the aluminum f channel extrusion. This creates a perfectly straight, clean edge, hiding any uneven cuts on the panel and providing a secure termination.
Another primary use I see for the aluminum f channel extrusion is in the sign-making industry. When you frame a sign made from acrylic or polycarbonate, an aluminum f channel extrusion provides a beautiful and protective border. It covers the raw edges of the sign material, protecting it from damage and giving it a polished look. The channel also adds rigidity to the sign, making it more durable.
Beyond its main uses, this versatile aluminum f channel extrusion is also used for:
| Anmeldung | Primary Function of Aluminum F Channel Extrusion | Key Advantage |
| Soffit/Ceiling | Creates a clean termination against a wall | Hides cut edges, speeds up install |
| Signage | Frames and protects the sign panel | Professional look, adds rigidity |
| Machine Guards | Holds polycarbonate panels in place | Secures panels, provides structure |
I know you want your finished projects to look clean and professional. Using the wrong trim or no trim at all can reflect poorly on your product’s quality and your company’s brand.
From my manufacturing standpoint, the key benefits are a clean aesthetic finish, excellent edge protection for panels, and a greatly simplified installation. I’ve found it’s a very cost-effective way for my clients to achieve a high-end look while adding long-term durability.
The decision to use an aluminum f channel extrusion is about more than just trimming an edge. It’s a strategic choice that adds significant value. For a purchasing manager, these benefits mean fewer quality complaints, lower labor costs, and a better final product.
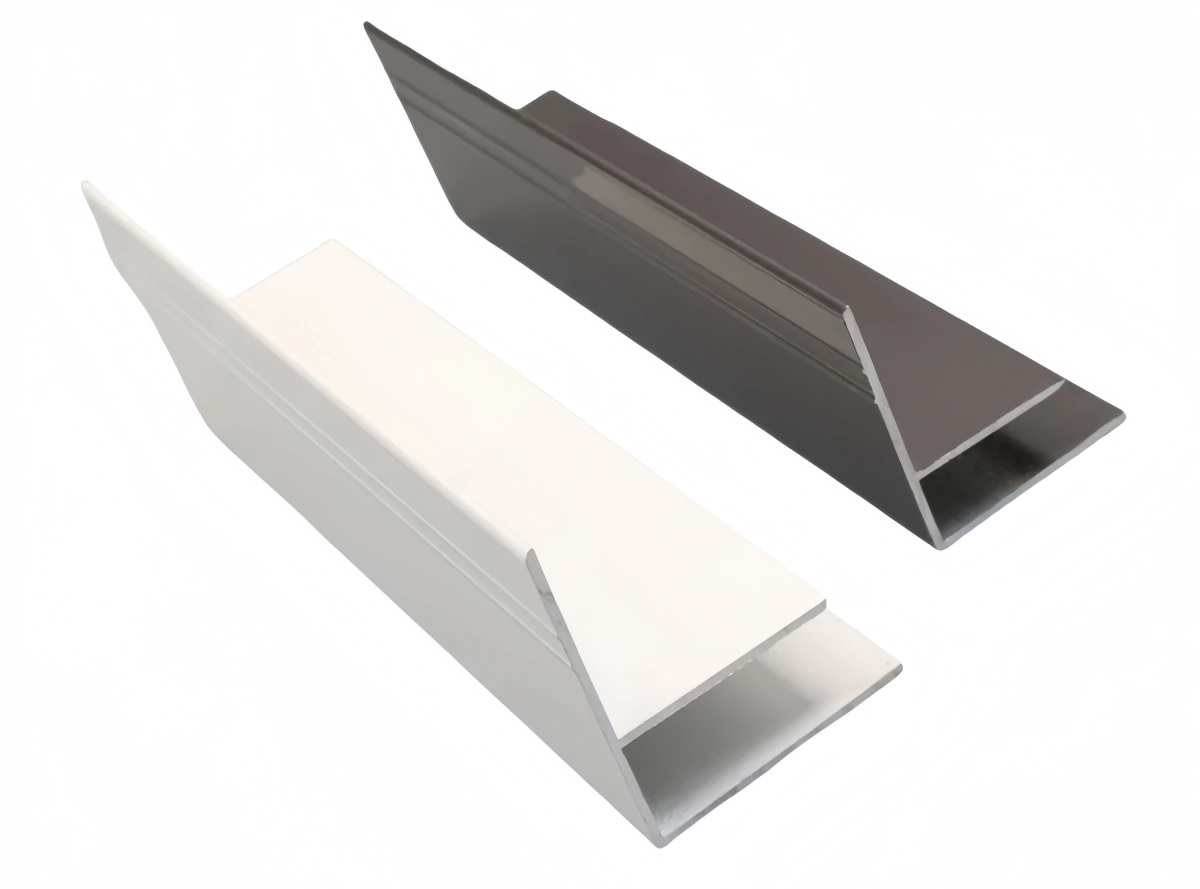
The most immediate benefit is the visual improvement. An aluminum f channel extrusion covers saw cuts and creates crisp, clean lines. Furthermore, it can be anodized for a durable matte finish or powder-coated in any color to match a specific design scheme. This level of customization allows your product to stand out.
Panels made of glass or acrylic can have fragile edges. The aluminum f channel extrusion acts like armor for these vulnerable edges, absorbing impacts and protecting the core material. This increases the lifespan of the product and reduces the chance of damage.
This aluminum f channel extrusion simplifies the assembly process. Instead of complex joinery, an installer can mount the channel and slide the panel in. This saves a huge amount of labor time. We can even supply the aluminum f channel extrusion with pre-drilled holes, further speeding up the process. For any large-scale project, these time savings translate directly into lower costs.
| Nutzen Sie | How Aluminum F Channel Extrusion Delivers | Impact on Business |
| Aesthetics | Covers raw cuts, provides clean lines, offers custom finishes | Enhances brand image and product value |
| Protection | Shields panel edges from impact and damage | Reduces defects and increases product lifespan |
| Efficiency | Simplifies and speeds up the assembly process | Lowers labor costs and shortens project timelines |
A premium component can still look terrible if it’s installed poorly. I understand the frustration when a crooked trim piece ruins an otherwise perfect project, forcing costly rework.
In my experience helping clients, proper installation involves three key steps: accurate measurement and cutting, securing the channel level with the right fasteners, and then smoothly inserting the panel material. I always emphasize the old rule: measure twice, cut once.
A successful installation of an aluminum f channel extrusion doesn’t require specialized skills, but it does demand precision. Following a methodical process ensures the final result is straight, secure, and professional.
Precision starts here. First, carefully measure the length required for your aluminum f channel extrusion. To cut the extrusion, a miter saw with a non-ferrous metal cutting blade is best. This gives you a clean, burr-free cut. If creating a frame, cut the ends at a 45-degree angle. After cutting, lightly file the edge to remove any sharp burrs.
The surface where you will mount the aluminum f channel extrusion must be clean, dry, and flat. Use a level to draw a straight guideline. This is the most critical step for a professional look. Select fasteners appropriate for the mounting surface. Secure the channel along your guideline, placing fasteners every 12-16 inches to prevent sagging.
Once the aluminum f channel extrusion is secure, you can insert your panel material. Gently slide the panel into the opening. It’s important to consider materials like acrylic that expand and contract with temperature. For these, leave a small gap (about 1/8 inch or 3mm) inside the channel to allow for this movement.
I often get questions from purchasing managers who are confused about whether to order an F channel or a J channel. I know that ordering the wrong profile can halt a project and lead to expensive delays.
I always give my clients this simple explanation: The main difference is the shape and how it mounts. An aluminum f channel extrusion has a long back leg for fastening it flat against a surface. A J channel has only one back leg and is better for simply capping or enclosing an edge.
While both profiles are used for finishing edges, they are not interchangeable. Choosing the right one depends entirely on the specific application. Understanding this simple difference in geometry is key to sourcing the correct component.
Let’s look closely at the aluminum f channel extrusion again. It has three distinct flanges: the long back mounting leg, a top leg to cover the panel face, and a bottom leg to support the panel edge. This design is made specifically for terminating a panel against a surface.
The J channel is shaped like the letter J. It has one long back leg and a shorter, curved front leg. It does not have the top mounting leg that the F channel has. Its primary purpose is to act as a cap or a starter strip at the bottom of a wall where siding panels will sit.
Here is the clearest way I explain it to my clients:
| Merkmal | Aluminum F Channel Extrusion | Aluminum J Channel Extrusion |
| Profile Shape | Looks like the letter “F” | Looks like the letter “J” |
| Hauptmerkmal | Has a long back mounting leg | Has no top mounting leg |
| Primary Use | Receiving a panel against a flat surface | Capping or enclosing the edge of a panel |
| Example | Trimming a soffit where it meets a brick wall | Putting a finished edge on a piece of glass |
The aluminum f channel extrusion is a key component for a professional finish. Understanding its use, benefits, installation, and how it differs from other profiles ensures a flawless, durable result.